Sprinkler to Drip Irrigation Conversion (DIY Guide)
If you already have a sprinkler system, you don’t always need to rebuild your irrigation from scratch.
In many residential gardens, especially in West and North Vancouver, you can convert an existing sprinkler zone into an efficient drip irrigation system with a few key components and a simple layout change.
This guide walks you through the exact process step by step so you can understand how a sprinkler system is converted into drip irrigation—and whether it’s a DIY job or something that needs adjustments.
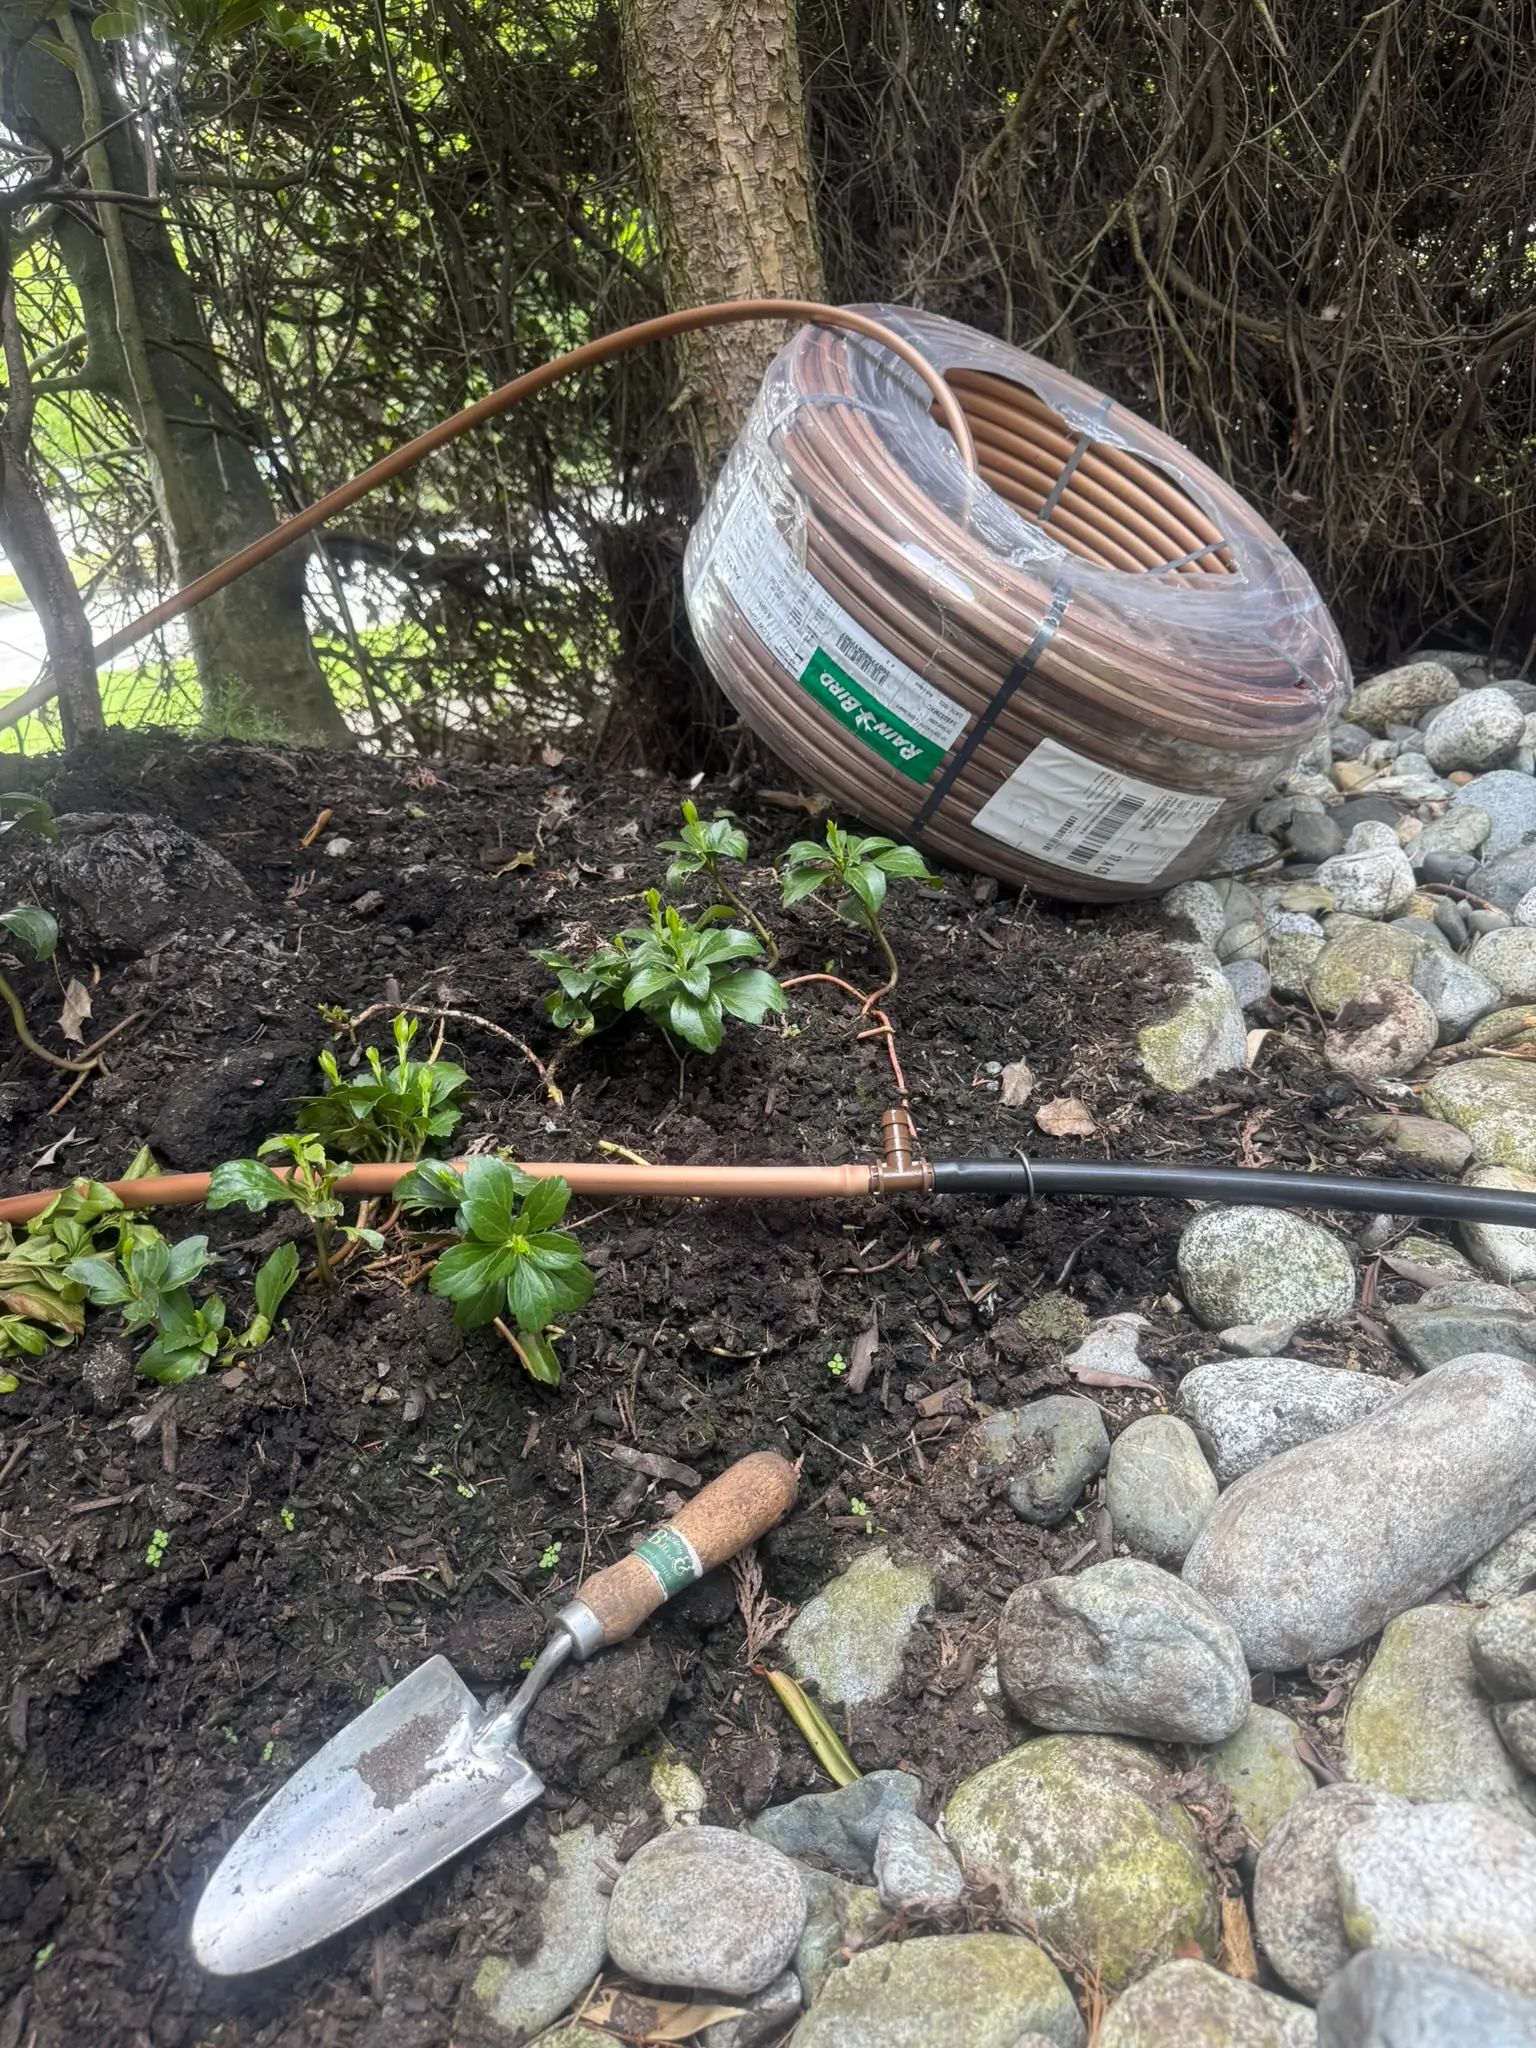
✅ “No need to dig up your whole yard — convert an existing sprinkler zone in one afternoon.”
Should You DIY or Call a Pro?
| Factor | DIY ✅ | Call a Pro 🔧 |
|---|---|---|
| Zone size | Small garden bed | Large or complex areas |
| Existing sprinkler System | Existing system works well | Existing system has problems |
| Pressure regulation | Easy add-on | Complex manifold systems |
| Slope drainage | Minimal slope | Severe slope (West and North Van) |
What You Will Need (Parts List)
To convert a sprinkler zone into drip irrigation, you typically need:
- Essential components:
- Pressure regulator (25–30 PSI for drip)
- Inline filter (prevents clogging)
- Drip conversion adapter (sprinkler riser to pipe connection)
- 17mm dripline
- Fittings:
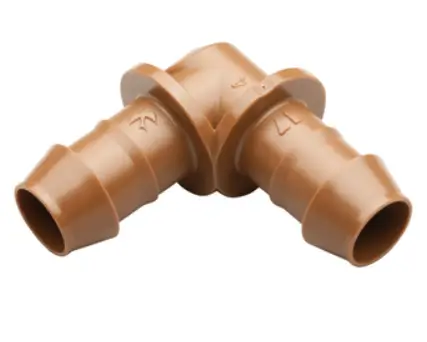
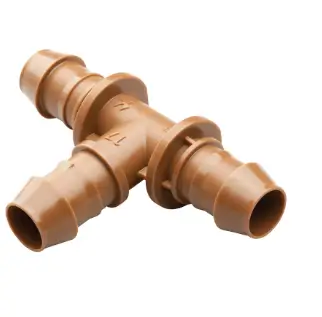
- drip barbed couplings
- tees
- elbows
- end caps or flush valves
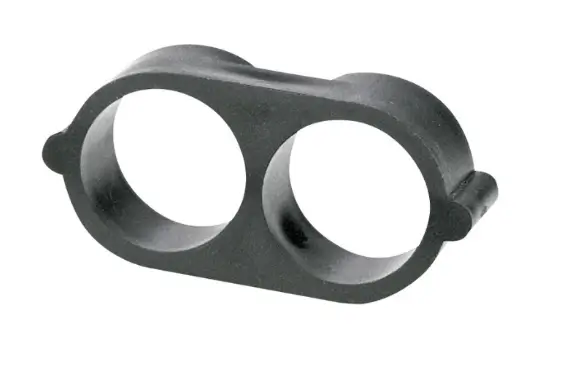
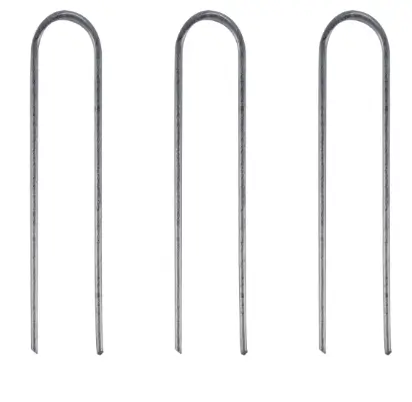
- Landscape staples (to secure tubing)
Step-by-Step Conversion Process
Step 1: Turn off irrigation system
Shut off the controller and water supply to the zone you are converting.
Step 2: Access a sprinkler head
Choose a sprinkler head in the zone (usually near the garden bed edge).
Remove the sprinkler head and expose the riser or pipe connection.
Step 3: Install drip conversion assembly
Replace the sprinkler head with:
- Pressure regulator
- Inline filter
- Drip adapter fitting
This is the most important step—drip systems fail without pressure control and filtration.
Step 4: Connect drip tubing
Attach 17mm dripline or drip tubing to the adapter.
Run tubing along planting areas, keeping it close to plants and root zones.
Step 5: Lay out drip system
- Loop or branch tubing through garden beds
- Space emitters or use built-in dripline spacing (15–30 cm typical)
- Avoid sharp bends or kinks
Step 6: Flush and test system
Before closing ends:
- Flush water through tubing for 30–60 seconds
- Check for leaks
- Confirm even water distribution
Step 7: Secure and finish installation
- Pin tubing with landscape staples
- Cover lightly with mulch if needed (do not bury deep)
Common Mistakes to Avoid
- No filter installed
- causes emitter clogging
- No pressure regulation
- fittings pop off or system leaks
- Mixing sprinkler + drip on same zone
- uneven watering and pressure issues
- Overcomplicating layout
- keep drip simple and logical
System Limitations (Important Reality Check)
A sprinkler-to-drip conversion works best when:
- The zone is dedicated to planting beds
- You are not trying to water lawns and shrubs together
- Water pressure is stable and consistent
If you have multiple planting areas or complex layouts, a full redesign of irrigation zones is usually more efficient.
Need a proper drip system design?
If you’re not sure how many zones, fittings, or dripline layout you need, you can use our planning tool:
👉 Drip Irrigation Planner Tool (design + parts list generator)
Or contact us for a professional irrigation upgrade.